

A Beginner’s Guide to Apartment-Friendly Composting
If you’re like me, you might think composting can only be done if you have a house with a big backyard and a thriving vegetable garden. Well I’m here today to introduce you to apartment-friendly composting that can be done from anywhere, with items you probably already have on hand.
As someone who lives in a small apartment, I thought it would be difficult for me to put my green thumb to use. I was scared to get houseplants let alone attempt to compost. I figured I didn’t have the space, materials, or money to do so.
But as I continued to practice sustainability in my everyday life, I found myself wondering what to do with extra organic materials like food waste and small recyclables. Since I knew composting was a great way to manage both of these things, I decided to look into how I could make it work from my little home. Low and behold, it’s possible, and I am going to give you some helpful tips for getting started with a compost bin of your own (that isn’t too much work).
So maybe we should start with the basics:
What is composting?
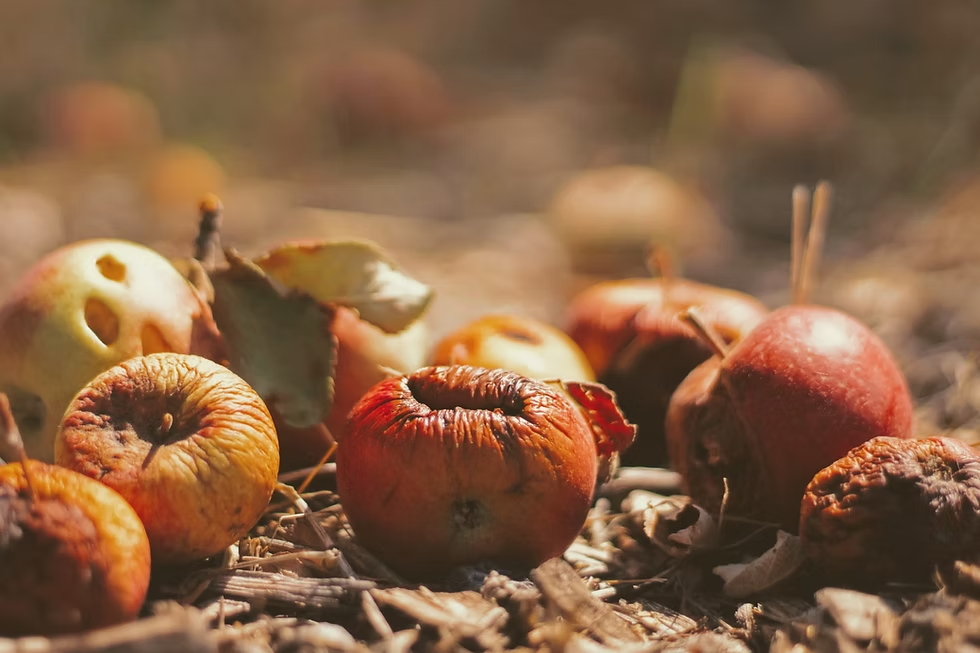
Composting is the recycling of organic matter (like food waste and plant trimmings) into a nutrient-rich fertilizer.
What is composting used for?
According to this great article on NRDC, compost can “increase soil’s water retention capacity, productivity, and resiliency” since it contains an abundance of healthy nutrients.
In the big picture, compost can be used as a way to decrease agricultural water usage, prevent the use of harmful chemicals, and prevent diseases from infecting plants. Pretty neat!
On a more personal scale, compost can help reduce our food waste and be a great fertilizer for houseplants or community gardens (more on that later).
Now let’s get to the fun part, starting our own mini compost. There are a variety of proven methods out there but compost all boils down to four key elements: nitrogen, carbon, water, and air.
Nitrogen, frequently referred to as the “greens” in compost, is going to be the key elements to helping our compost break down. Some examples of greens include plant trimmings, coffee grounds, and food scraps.
Carbon, also known as the “browns,” are going to be materials like dried leaves, cardboard, and egg shells, which sustain organisms that help break down your compost.
Water and oxygen are two key elements needed to keep your compost healthy. Water provides the necessary moisture to help your compost break down but you also need to supply your mixture with air to keep those soil-loving organisms alive.
With all of that in mind, we need to find a good container to keep our compost in. I think one of the biggest fears people have is that their compost will just turn into a smelly pile of garbage. While it can be smelly, the right balance of Nitrogen and Carbon should help reduce any bad odors, giving it a more earthy smell. Keeping our compost in a tight but breathable container can also help with this.
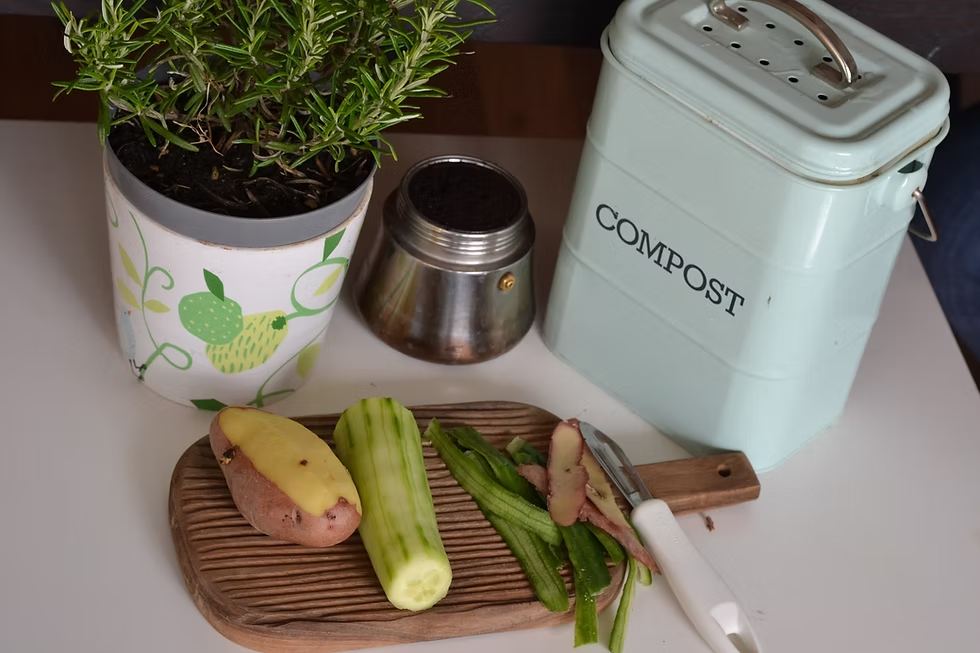
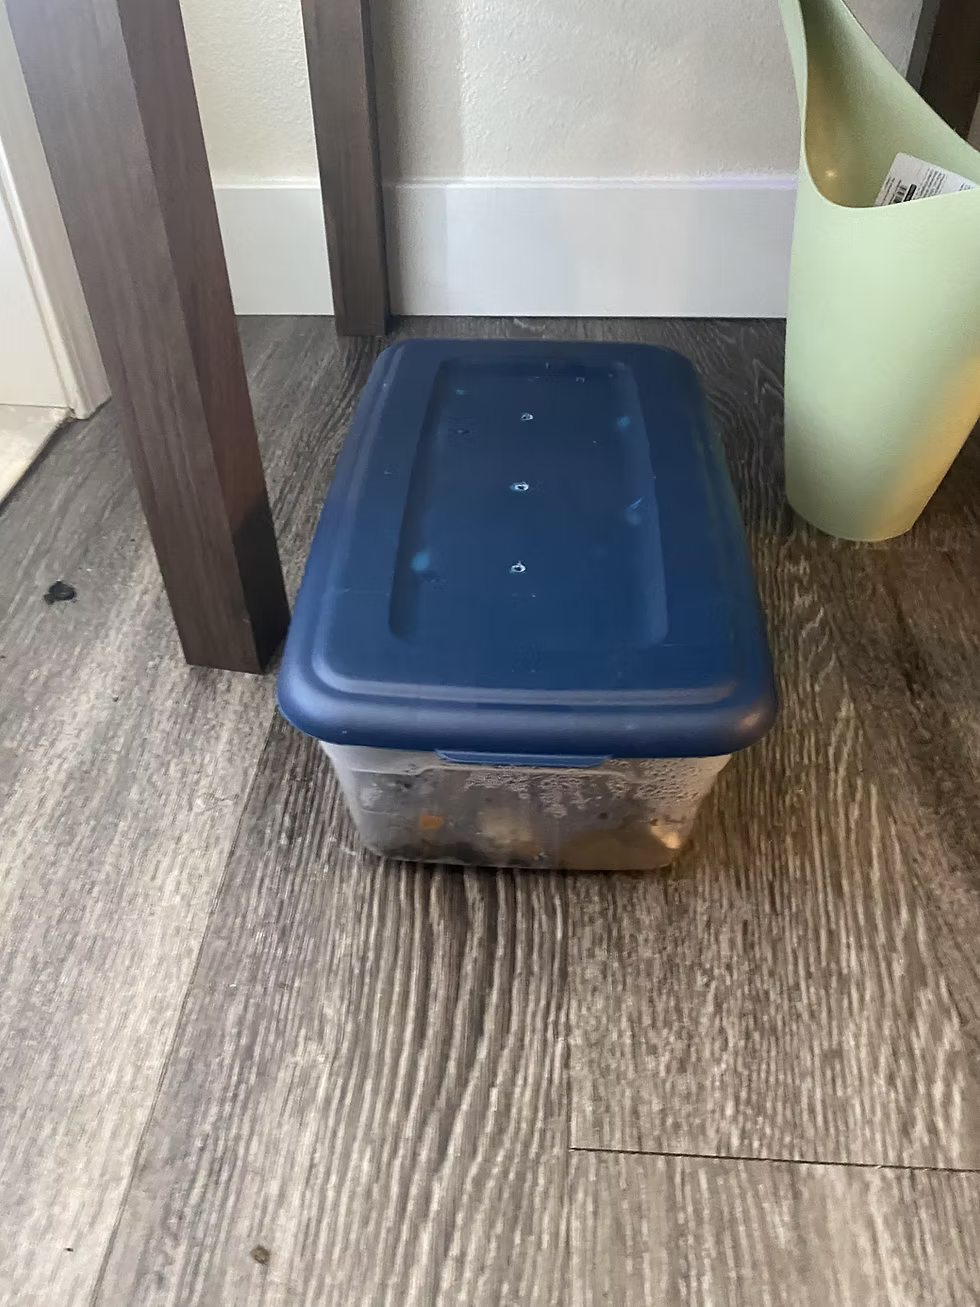
What I have found works for me, is using a small plastic storage bin (one that I’ve had sitting in a closet). For airflow, I drilled small holes into the top, and one hole in the bottom for drainage. Some alternatives are paint cans, old tupperware containers, buckets, and more, you just have to be creative!
Once you’ve got your container, you can get to the good part - adding your browns and greens. You want to have a balance, too many browns can make your compost too dry. I started by shredding an old cardboard box that I had from moving. An important note for carbon items is that you don’t want them to have paints, chemicals, or wax that can harm your compost. If you’re using paper, consider if it has been bleached or what kind of printing it has on it. To add moisture, I had a spray bottle of water that I would soften up my browns with as I went along.
If you’re unsure what to use for your browns, you can also get a composting base at your local garden center. But just remember you likely have things you can use on hand!
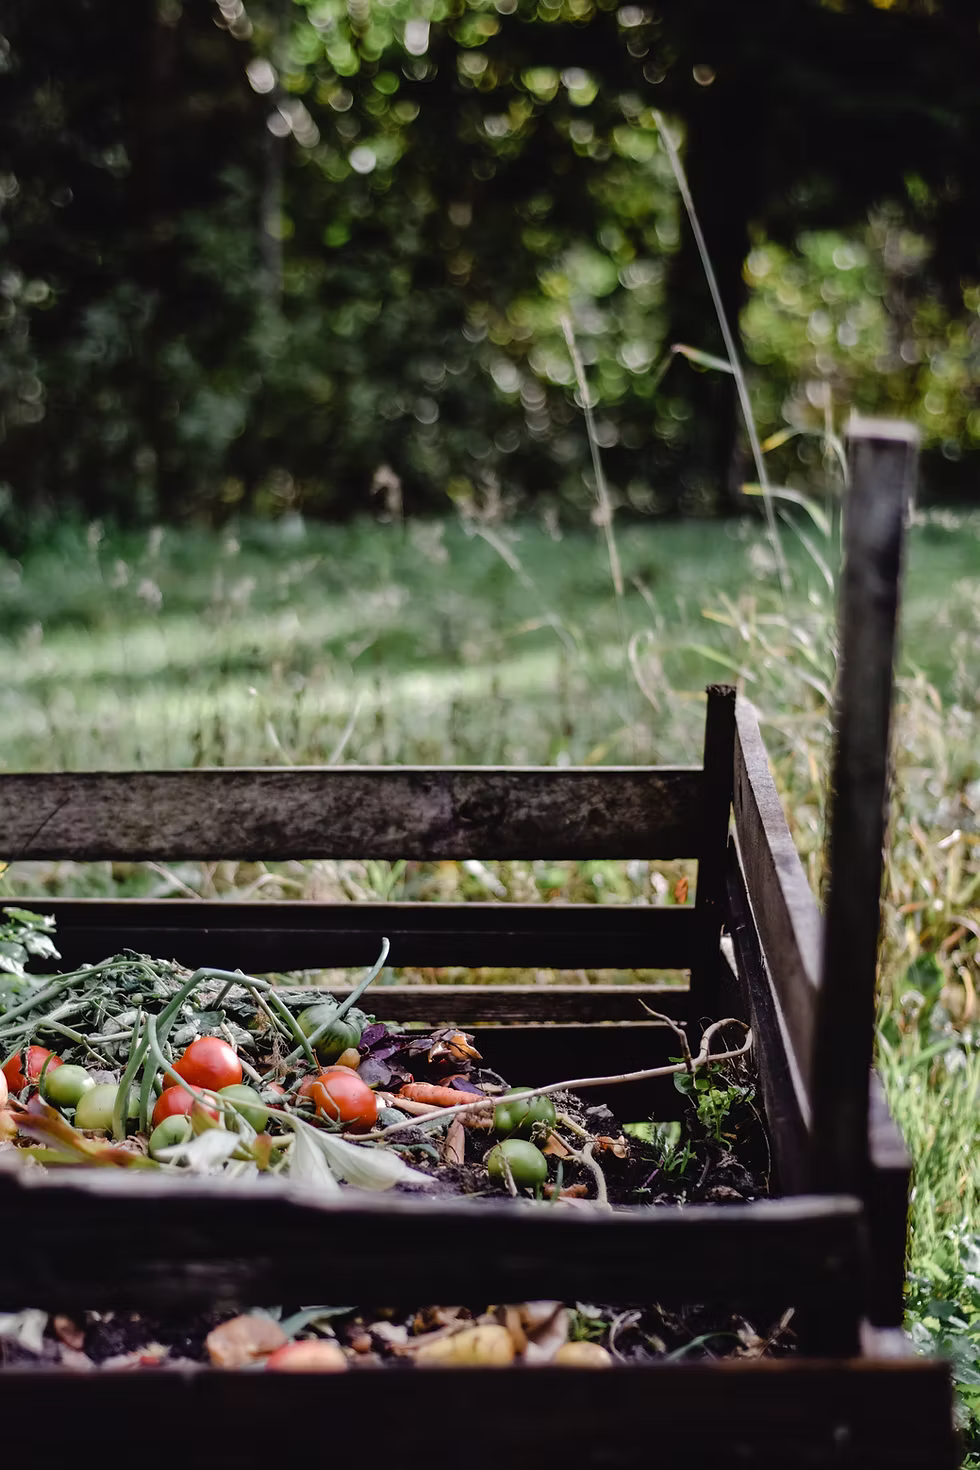
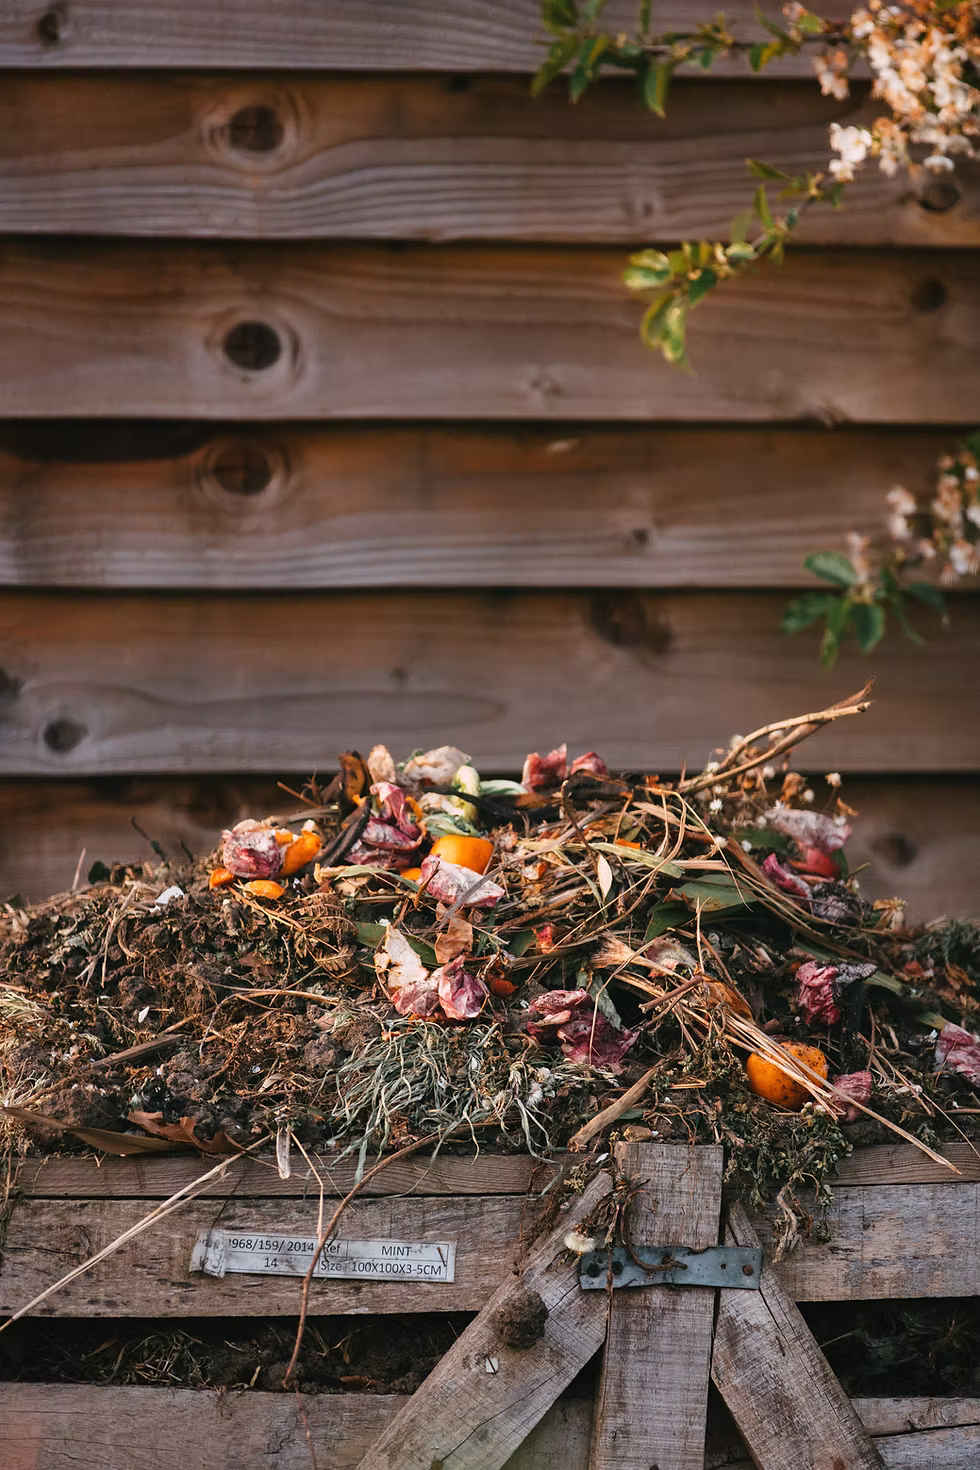
Now for the greens! I found that I could add small amounts of greens to my compost throughout the week, typically after I got done cooking. Why not toss in those carrot shavings, those uneaten peach slices, or that apple core? You won’t use every item of food waste that you create but there is so much potential to recycle some of those scraps that you’d typically throw in the trash.
It’s important that your greens aren’t overly salty or spicy. Your compost will thrive with more neutral ingredients. You also don’t want to be putting meat into your mixture, since it could compromise your compost with harmful bacteria when it decomposes.
Now that you know what should be going in your compost, you can continue to add to it as you go! You can typically store it at room temperature in a dimly lit corner and forget about it altogether. Just remember to add some water if it’s looking a bit dry, and keep a balance between your browns and greens. In a few months, your mixture should transform into a fertilizer that you can add to your houseplant’s soil. If you have no personal use for the compost, you may be able to take it to a community garden or local farmer’s market. The possibilities are endless!
About the Author

Phoebe is a recent college graduate with a passion for sustainability-focused marketing. You may find her enjoying a stroll through the thrift store or rummaging through the yarn at the craft store.
Interested in volunteering to write a blog for us?
Email [email protected].


manclub là một trò chơi trực tuyến đổi thưởng, nơi người chơi có thể tham gia vào các trò chơi bài phổ biến như poker, baccarat, blackjack, và nhiều trò chơi khác. Mục tiêu của trò chơi là giành chiến thắng trong các ván bài để tích lũy điểm và nhận thưởng. Các phần thưởng này có thể được quy đổi thành tiền mặt hoặc các ưu đãi hấp dẫn khác. https://manclub.rehab/
google 优化 seo技术+jingcheng-seo.com+秒收录;
Fortune Tiger Fortune Tiger;
Fortune Tiger Fortune Tiger;
Fortune Tiger Fortune Tiger;
Fortune Tiger Slots Fortune…
站群/ 站群
gamesimes gamesimes;
03topgame 03topgame
EPS Machine EPS Cutting…
EPS Machine EPS and…
EPP Machine EPP Shape…
Fortune Tiger Fortune Tiger;
EPS Machine EPS and…
betwin betwin;
777 777;
slots slots;
Fortune Tiger Fortune Tiger;
무료카지노 무료카지노;
무료카지노 무료카지노;
google 优化 seo技术+jingcheng-seo.com+秒收录;
Fortune Tiger Fortune Tiger;
Fortune Tiger Fortune Tiger;
Fortune Tiger Slots Fortune…
站群/ 站群
gamesimes gamesimes;
03topgame 03topgame
EPS Machine EPS Cutting…
EPS Machine EPS and…
EPP Machine EPP Shape…
Fortune Tiger Fortune Tiger;
EPS Machine EPS and…
betwin betwin;
777 777;
slots slots;
Fortune Tiger Fortune Tiger;
Composting is a great way to reduce waste, even if you live in an apartment. By using simple methods like countertop bins or small outdoor composters, you can make a positive environmental impact. If you're looking to downsize or move to a new space where you can compost easily, we buy junk houses and can help you transition to a more sustainable living situation. Embracing composting is a rewarding step towards a greener lifestyle, no matter your living situation!
Won99 Nhà cái uy tín hàng đầu 2024. Sân chơi đa dạng các thể loại như bầu cua, livecasino, xốc đĩa, tài xĩu. Cùng với nhiều chương trình khuyến mãi hấp dẫn. Nhanh tay đăng kí thăm gia có nhiều trải nghiệm thú vị cùng Won99. https://won99.live/