

TMPF's Guide to a Sustainable and Dietary Friendly Fall Feast
The holidays are fast approaching and as Thanksgiving looms on the delicious horizon, many of us at the Parks Foundation face two challenges with this yearly feast: how to make a holiday dedicated to abundance more sustainable and how to navigate a variety of dietary restrictions from veganism to severe food allergies. Here to help with both sustainability tips and some of their favorite recipes are Alex Shahbazi, Rachel Dunn, and Rachel Carroll, with additional photos from Matt DeBray and Jennie Johnson.
How to Make Any Meal More Eco-Friendly
Did you know that you can protect the planet while eating yummy food? I know, it sounds too easy, but it's true! Food is such an integrated part of human life, and as such touches so many parts of our impact on the environment. While all of that sounds daunting, the actions we can all take are short, simple, and sweet!
Choose more plant-based options
You've probably heard that eating less meat is a great, easy way to help reduce your carbon footprint. That also applies to things like milk and eggs! Producing meat or other animal products takes a lot of water and produces more greenhouse gases than plant-based options. Choosing to add a plant-based meal or two to your week, replacing dairy milk with alternatives like soy or oat, and choosing to skip cheese on a sandwich or burger are all ways to make an impact while still eating the food that you love!
Shop locally
Cars, boats, trucks, and planes are some of the biggest polluters and greenhouse gas emitters. And even if you're staying put, your food could still be a jetsetter! In today's global economy, grapes come from Chile, apples from New Zealand, rice from Asia, and so much more from across the world. Taking a second at the store to find produce and products that are from your local area not only means you're drastically reducing your own carbon footprint, but also means you're supporting local businesses!
The less-processed, the better!
It may seem obvious to say, but it takes energy to make things! Compared to something like an apple or bell pepper, heavily processed foods like chips and soft drinks have a much bigger environmental impact. Not only are there more ingredients, meaning more transportation is needed, but also the making of the products themselves uses more energy and emits more carbon.
Reduce food waste
It takes energy to make food, and we all need to eat. But did you know that Americans waste about a third of the food we purchase? Not only is carbon being emitted and land being cultivated to make food that ends up in the trash, but thrown out food emits greenhouse gasses as it rots in landfills instead of composting back into nature. Reducing your food waste won't only help the planet, but it will save you money as well!
Search for sustainable seafood
Fishing as an industry is complicated and complex; many types of seafood are harvested in ways that heavily damage the oceans. If you're a seafood lover, check out Monterey Bay Aquarium's Seafood Watch, a one-stop-shop for different types of sustainable seafood.
Purchase products with sustainable palm oil
Unsustainable harvesting of palm oil across the world is destroying crucial wildlife habitats and forests that help regulate the climate. Haven't heard of palm oil before? Well, you're almost surely using plenty of products that contain it everyday! So many things from candy and snacks to soap and shampoo are made with palm oil. The best ways to know if the products you're buying contain sustainable palm oil are to use Cheyenne Mountain Zoo's Sustainable Palm Oil app or look for the RSPO logo when you're at the store. Now onto the recipes!
Recipes
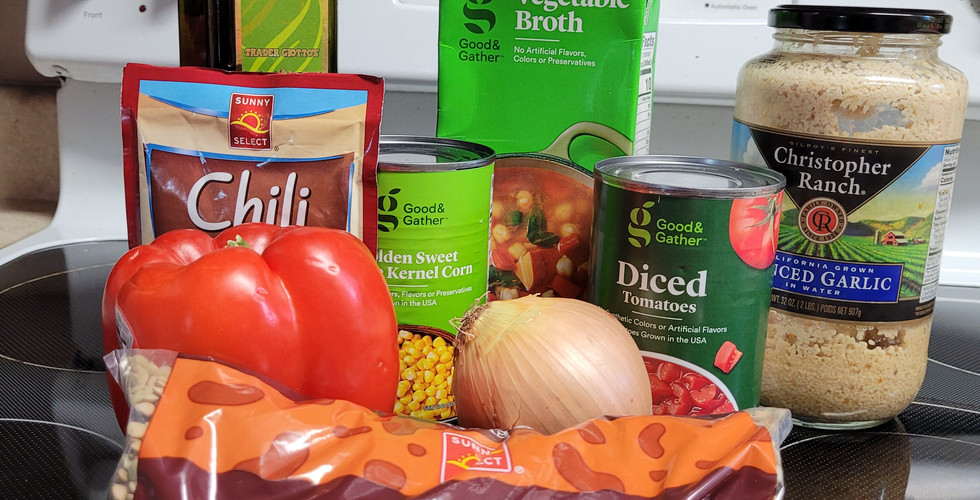
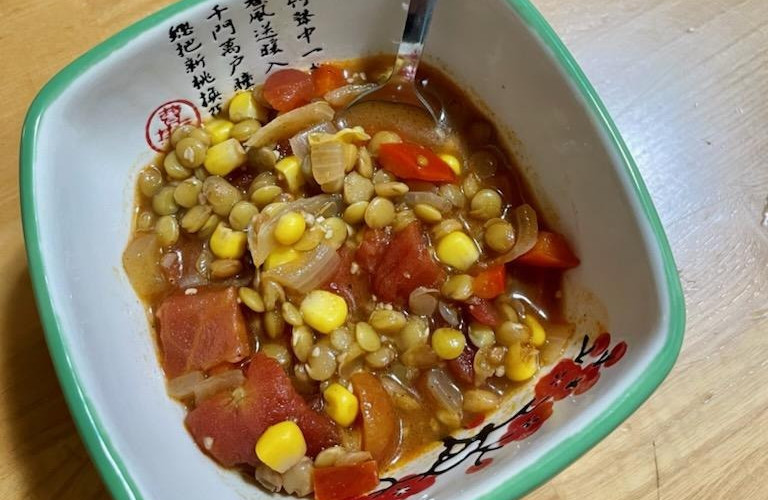
Rachel Dunn - Vegetarian Chili
Ingredients
1 Tbsp Olive Oil
1 lb Ground Beef (optional)
1 Yellow Onion, diced
1 Red Bell Pepper, diced
Garlic
3-4 cups Vegetable Stock (or Beef Stock if you want to make this not vegetarian)
1 15oz can Diced Tomatoes
1 cup uncooked Green or Brown Lentils
1 15oz can Corn
1 packet Chili Seasoning
Instructions
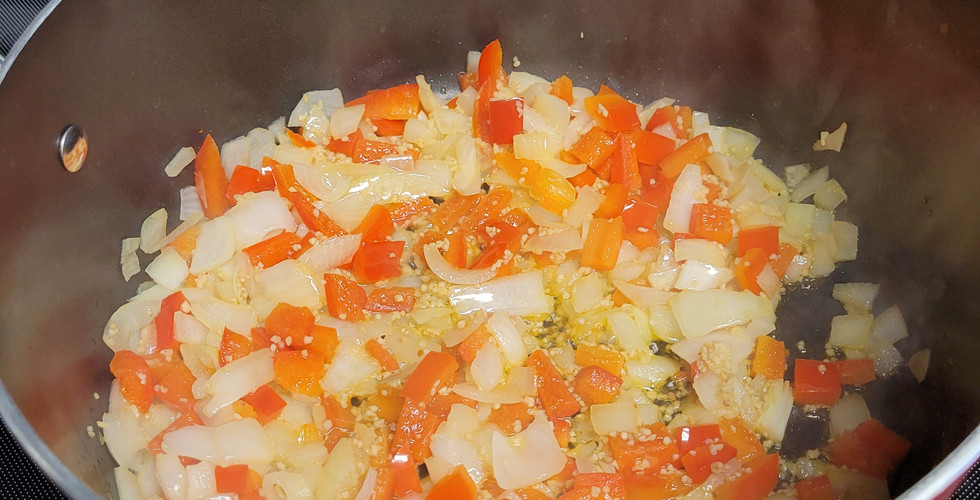
Heat oil in a large stock pot over medium high heat. Add onion and bell pepper (and ground beef if you want). Saute until onion has softened. Add garlic to taste and saute for 1 minute.
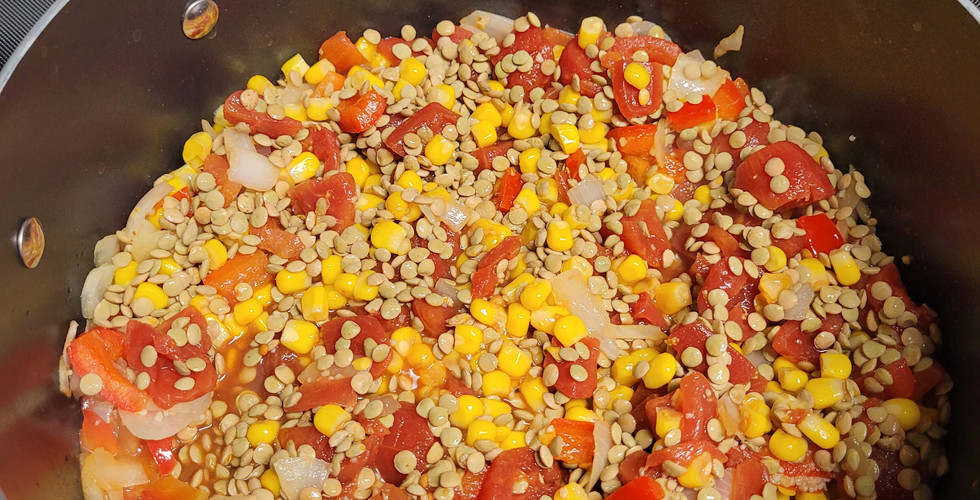
Add remaining ingredients and stir. Cook until chili reaches a simmer.
Reduce heat to medium low and continue cooking for 20 minutes or until lentils have softened.
Serve with shredded cheese and Fritos. Enjoy!
Chili is a fall tradition in my family; every Halloween we have chili and play cards while we wait for trick or treaters. This particular recipe is one I learned in college in an attempt to add more vegetables to my diet. It’s perfect whether you keep it vegetarian or add meat, and the leftovers taste good even after a few days. I highly recommend getting Frito scoops and using those instead of a spoon to eat your chili.


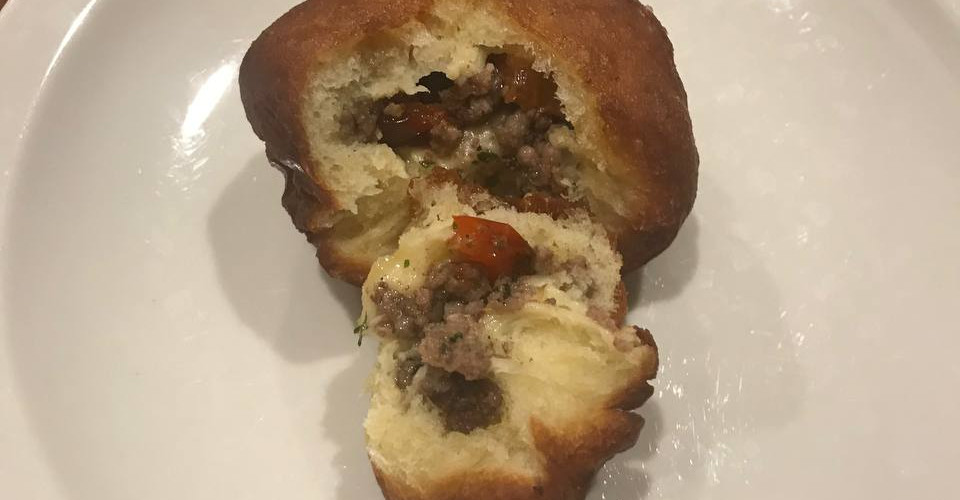
Rachel Carroll - Soy and Dairy Free Piroshki
I already know your first question: what's piroshki? Piroshki (pronounced purr-osh-KEE, with a rolled R) is a traditional Russian food that's in the same vein as dumplings, pierogi, hand pies, and potstickers. It's basically just fried dough with good stuff inside. There's a fried dough dish of some sort in just about every culture in the world, so while the name may seem a little foreign, the concept will be more familiar than you may think!
I have a strong soy allergy and a lactose intolerance, so I've modified this recipe to be soy and dairy free, specifically with the dough. It'd be very easy to make a couple more modifications and have it be vegetarian or vegan though, so if you're looking for something that makes a lot of very filling food (that also reheats well) to get you through a harsh winter, look no further! Head's up that this is the most labor and time intensive recipe on this list, but if you take a Sunday night to make these you'll have food for the whole week, and likely some to share.
Filling Ingredients
1 1/2 pounds of ground beef
1 full sized bell pepper, chopped
Black pepper, parsley, garlic salt (or your choice of seasoning) to taste
Dough Ingredients
1 .25 ounce packet of active dry yeast
1/4 cup warm water
1 cup almond milk
1/2 cup olive oil
3 large eggs
1 teaspoon salt
2 tablespoons granulated sugar
4 cups organic all-purpose flour (I use King Arthur brand personally)
3 cups canola oil for frying
Steps
Add yeast to warm water, stir until dissolved and place somewhere warm until the mixture is somewhat frothy (10-20 minutes depending on warmth).
While the yeast is sitting, warm the almond milk in a saucepan over medium-low heat. Stir in olive oil, eggs, salt, and sugar. Don't allow it to boil! Remove from heat when everything is mixed.
Place 2 cups of the flour in a large mixing bowl. Add all of the milk/oil mixture and stir until mixed. Add half of the yeast mixture, stir until mixed. Add 3rd cup of flour, stir until mixed. Add second half of yeast mixture, stir until mixed. Add 4th and final cup of flour, stir until mixed, you may need to use your hands to mix it at this stage. Cover with a clean cloth and set somewhere warm to rise. ***If you're low on time, you can store the dough in your fridge at this point for up to 2 days by removing the cloth and covering it with cling wrap. I've noticed that the dough gets a somewhat different texture and slightly fermented taste if you do this though, so the sooner you use it the better. If it's a cold day, heating up one of those microwavable rice packs and setting it under the bowl can help the rising process.
While the dough is rising, cook ground beef and diced bell peppers in a skillet until evenly browned. Drain excess grease. Season to taste. Let cool before next step.
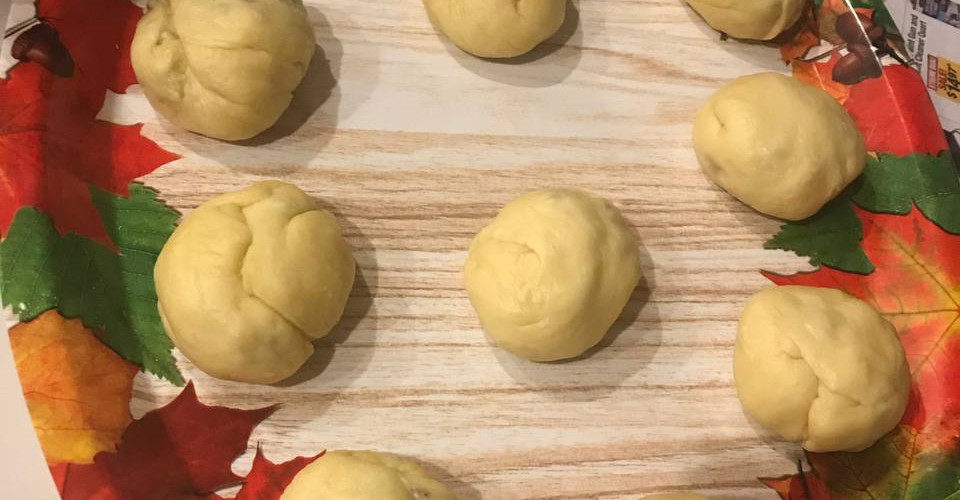
When dough has at least doubled in size, add fine layers of flour and knead until no longer sticky. Pinch off golf ball sized pieces, roll into balls, then flatten into disks. Fill each disk with a tablespoon or so of cooled ground beef/peppers, fold each disk around their helping of beef/peppers making sure that the edges are pinched completely shut. Lightly roll and gently flatten until each filled piroshki is sort of a UFO or clam shape instead of a sphere. I find that this weird shape makes them easier to fry, personally. Allow piroshki to sit for a few minutes.
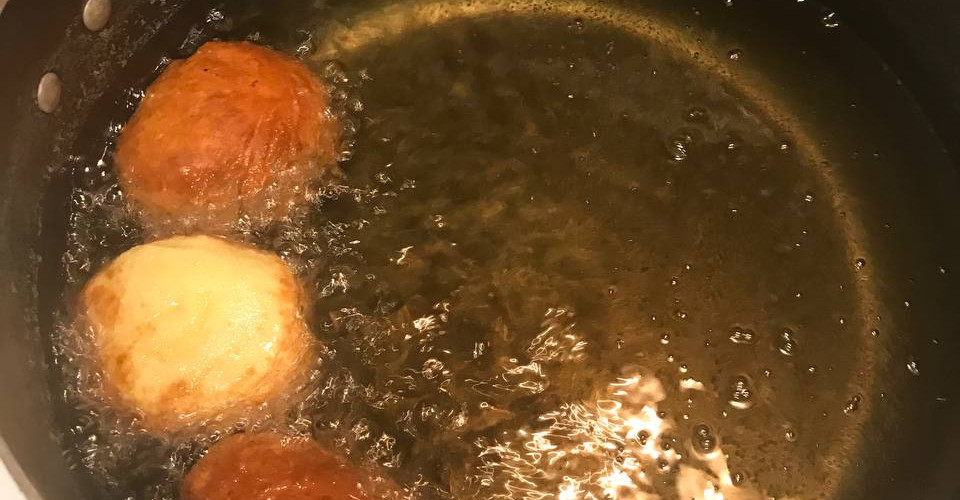
As piroshki sit, put 3 cups canola oil into large pot over medium heat.
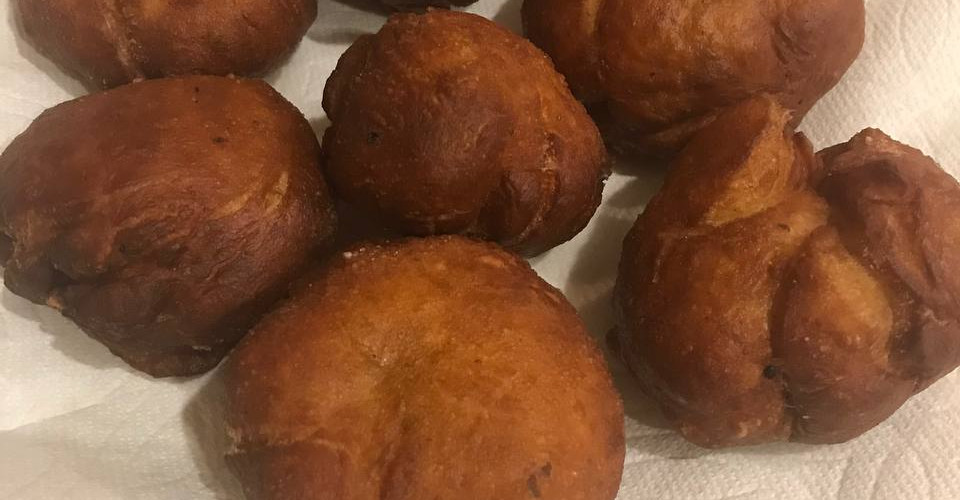
Once oil is heated, begin adding piroshki one at a time, gently flipping once the bottom side has browned. If I made them the right size I find that I can do about 3 or 4 at a time in a big pasta pot once I get going, but make sure you work up to doing more than one at a time. Fry them a little beyond golden brown to ensure the inside dough is cooked. As you remove them from the oil, set them onto paper towel lined plates.
Your piroshki are done! They're traditionally served with sour cream, but I do barbecue sauce with mine to avoid the dairy.
This recipe will make around 20 or so piroshki depending on how you size them, and trust me that is plenty! I can get down 5 on a good day, even my bottomless pit of a dog can only make it through 2 before he's stuffed. They're incredibly filling, store for about 5 days in the fridge, and reheat very well in both the microwave and oven. Savory piroshki is traditionally made with any combination of ground beef, onions, broccoli, dill, and/or cheese, so while ground beef and peppers is my personal favorite, play around with what sounds good to you and works with your dietary needs. I'm willing to bet you'll find a combo that you love!


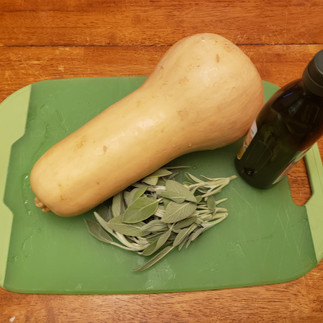
Alex Shahbazi - Super Simple Sustainable Sage Squash
Looking for a warm meal after a cold weather hike? Look no further than this recipe for some super simple roasted butternut squash with sage!
What makes it sustainable, you ask? This dish is entirely plant-based! Every time you choose to eat a plant-based meal, you're doing your part to help keep our planet as healthy as possible. Try exploring other plant-based recipes and discover how tasty sustainability can be.
Ingredients:
1 large butternut squash
2 tablespoons extra virgin olive oil
12 sage leaves
Kosher salt and freshly ground pepper
Step-by-step:
Pre-heat oven to 425 degrees F
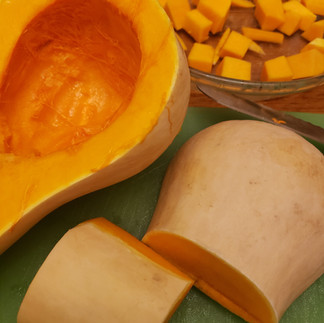
Peel and seed squash; cut into roughly 1-inch cubes
In a large bowl, toss squash cubes with the olive oil and sage leaves; season with salt and pepper
Spread squash on a baking sheet in a single layer
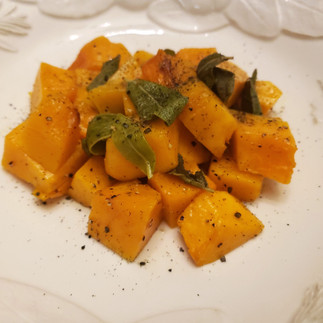
Roast squash in the oven for 35-40 minutes until tender and lightly browned, tossing once halfway through
Transfer to a bowl and serve! I recommend pairing this squash with roasted asparagus and wild rice!


Rachel Carroll - Soy and Dairy Free Banana Bread
Thought good ol' banana bread was harmless? Think again! A lot of banana bread recipes call for butter, which is no good for those of us with lactose intolerance or someone who's vegan. The usual substitute for butter is margarine, which is soy-based and even worse in my case. The solution? Earth Balance Soy-Free Buttery Spread. This stuff has been a lifesaver (maybe literally) when it comes to baked goods for me. It has a consistency very similar to margarine so I don't have to replace the butter in baking recipes with oil, which in some cases just doesn't work (oily banana bread, anyone?). I like my banana bread simple, but you can add anything of your choosing to this recipe like raisins, walnuts, almonds, or chocolate chips. Enjoy Life makes fantastic allergen-friendly chocolate in ricemilk, semi-sweet, and dark varieties if you want to keep the soy and dairy free trend going!
Ingredients
3 large ripe bananas, the riper the better
1/2 cup Earth Balance Soy-Free Buttery Spread
2 large eggs
1 teaspoon vanilla extract
1 teaspoon baking soda
1/2 teaspoon salt
1/2 teaspoon cinnamon
1 cup granulated sugar
2 cups all-purpose organic flour (I use King Arthur brand personally)
Pinches of light brown sugar* (optional)
Steps
Preheat oven to 350 degrees F. Use a 9x5in bread pan and either spray with your choice of non-stick spray (note: Pam non-stick spray has soy in it) or "butter" with extra soy-free buttery spread (my go-to) to prevent sticking later
Add buttery spread to a large mixing bowl, melt by microwaving for 10-15 second bursts until completely liquid
Peel bananas and add to the same bowl, mash them with a fork. I try not to have any mashed bits bigger than a dime, you can mash more or less thoroughly to your liking though
Add eggs and vanilla extract to same bowl, mix well. Add 1st cup of flour, mix. Add 2nd cup of flour, mix. Add granulated sugar, mix. Then add salt, cinnamon, and baking soda, mix. I'll sometimes add a little extra cinnamon at this step, or you can add anything else you may want in your banana bread at this point and give it a final mix until it's mixed well
Pour mixture into bread pan. Top with small but even amount of light brown sugar if desired (it's really good if you can swing the extra sugar content).
Cook until you can stick a toothpick in the middle and it comes out clean, this is usually about 1-1.5 hours with my oven. Let cool slightly after removing from oven, slice, and enjoy!
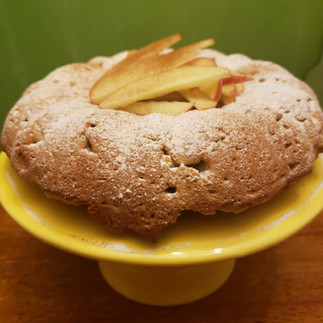
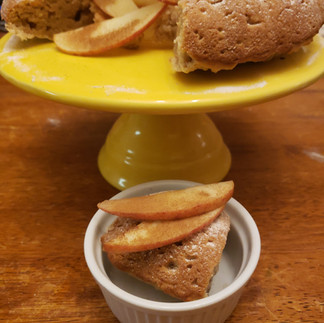
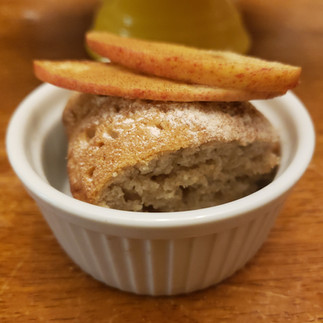
Rachel Dunn - No Egg Applesauce Cake
Ingredients
1 cup Sugar
1½ cup Applesauce
½ cup Shortening
2½ cup Flour
½ tsp Salt, Cloves, Cinnamon (or 1½ tsp Apple Spice)
1 tsp Baking Soda
Instructions
Heat oven to 350℉
Mix together sugar, shortening, and applesauce in a large bowl.
Sift together dry ingredients and add to the applesauce mixture. Mix until the ingredients are incorporated.
Pour into a pan of your choice and bake until a toothpick inserted into the center comes out clean.
Traditionally, this is made in a bundt cake pan which takes 60 minutes.
I personally like to make mini muffins which take 10-12 minutes.
My grandma did a lot of things. She ran a farm, raised 6 children, spoiled numerous grandchildren; she was the backbone of our family gatherings. Though she passed away many years ago, I am still discovering how she inspired me to become who I am today. I learned German for her, I can trace my current career path back to her, and this recipe is one of hers. This is one of the first recipes I learned to make and I continue to make these muffins for group get-togethers and as gifts for friends. It means a lot to me that I have the opportunity to share this recipe with so many people. I hope you all enjoy these muffins (or cake)!


Comments